This class was an in-depth look into material selection and manufacturing processes of projects. This was completed through the exploration of basic sewing operations, textile selection, general pattern making, and construction of a soft product. This class also covered cutting, designing, fusing, and slumping classes as a second project, but I want to focus on the messenger bag.
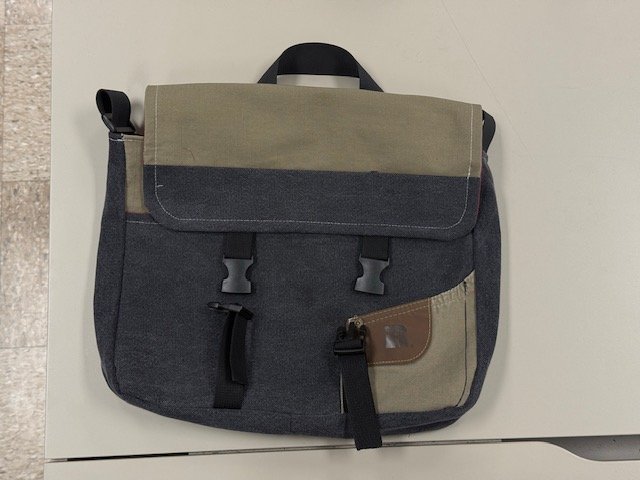
The problem we were to solve during this class was learning how to sew, assemble, and create a working messenger bag. This meant picking our material, which was up to us to find. We also had to pick a thread color and what patterns we wanted on our bag. For the class, we first started by learning very basic sewing techniques, like the straight stitch, zigzag stich, topstitch and some others. We also learned simple vocab and what each part of the machine did. This made it easier later when experiencing issues with the machines, since we were able to troubleshoot and fix most issues ourselves.
Cutting
Assembly
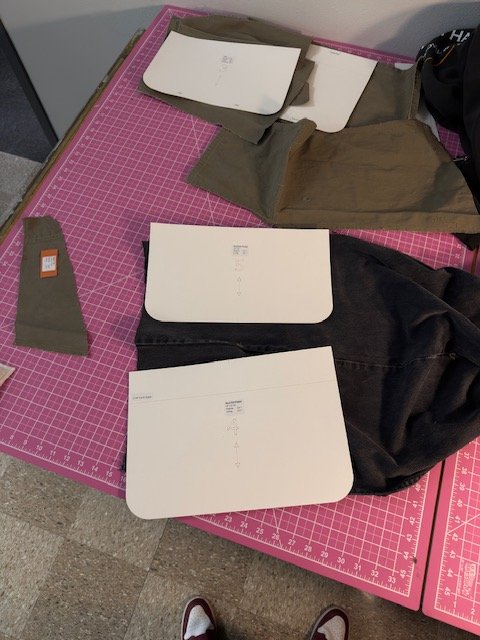
The prompt given to us was to create a messenger bag from scratch. At first, we were just leaning different stiches and when to use them, also how to sew zippers and patches and such. For practice, we had two initial projects where we made a market bag/tote bag, and a pencil case. Making those two projects due before starting the final project was super helpful, since we had practice using the machine, but also learning how the material reacts to stitching and folding. Once we got to our final project, we had to create sketches of our final bag would look like, that way we would have a plan to follow.
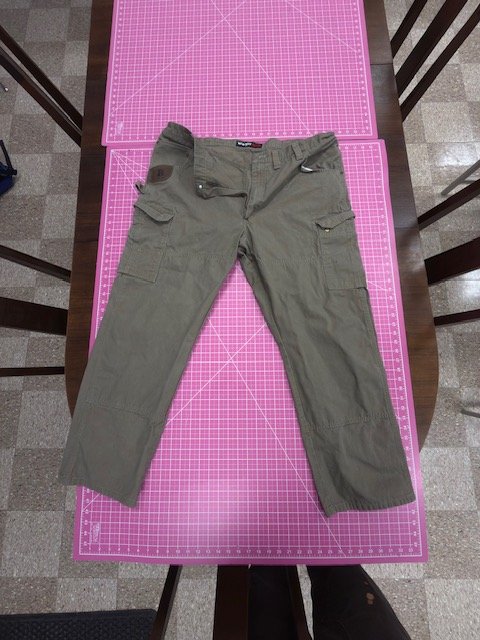
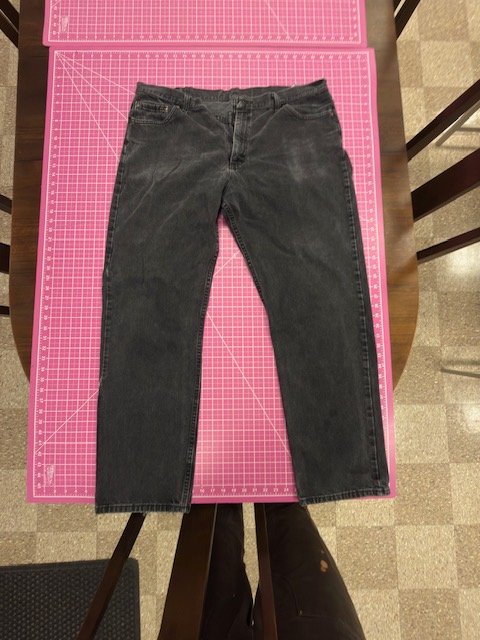
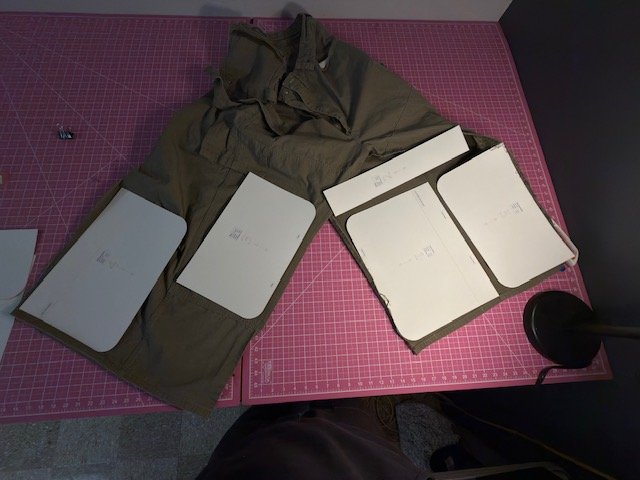
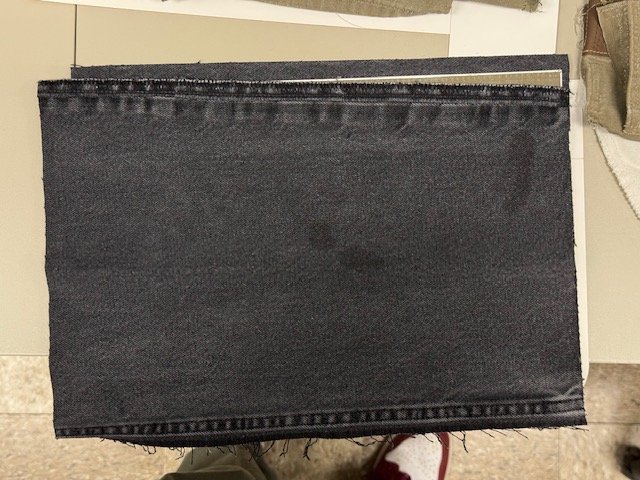
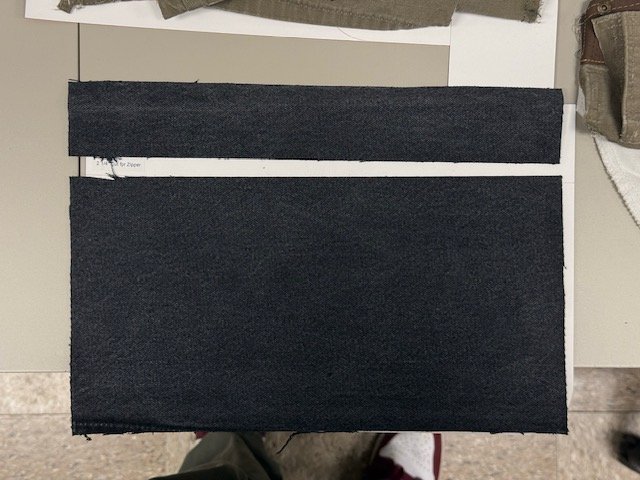
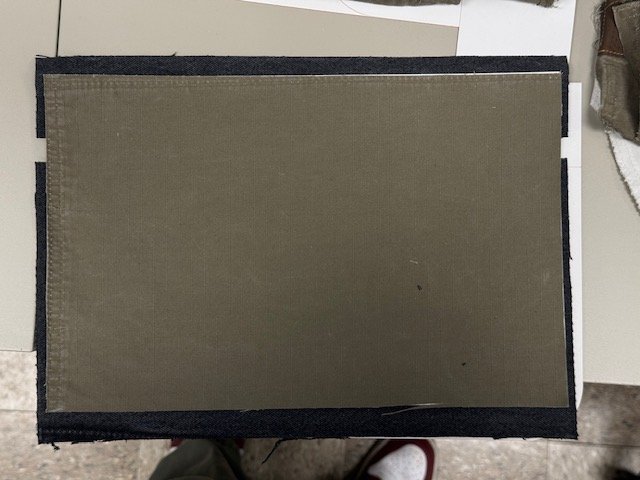
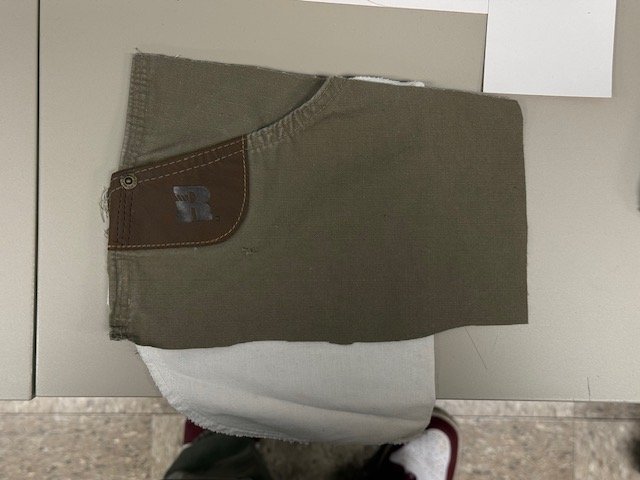
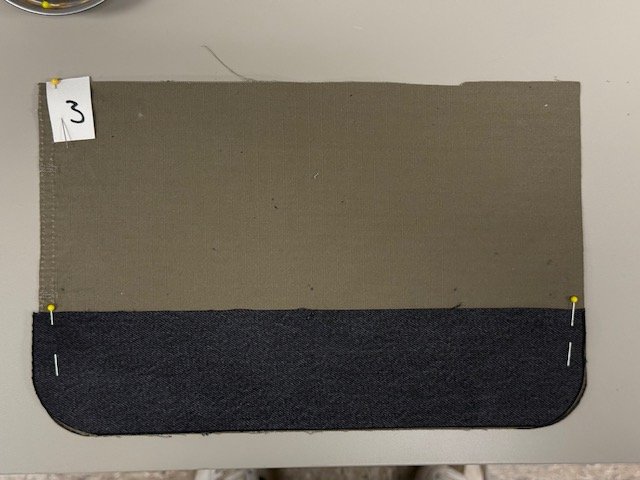
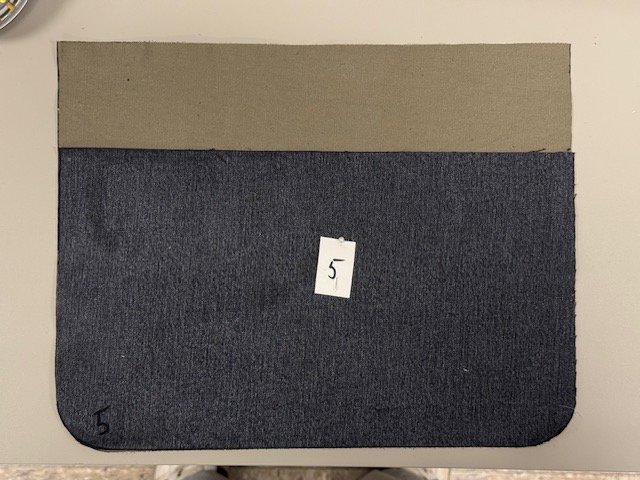
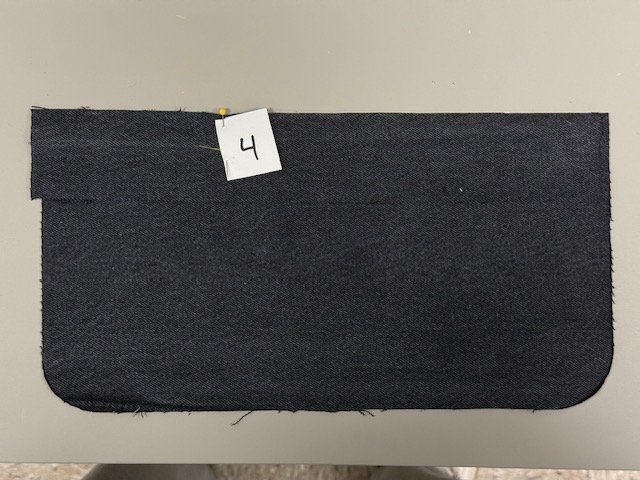
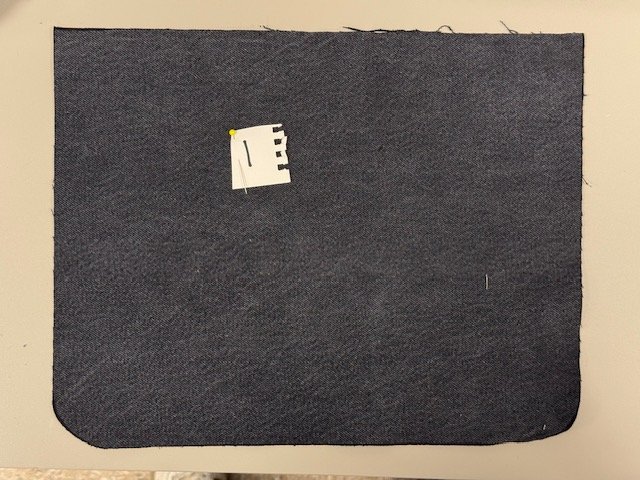
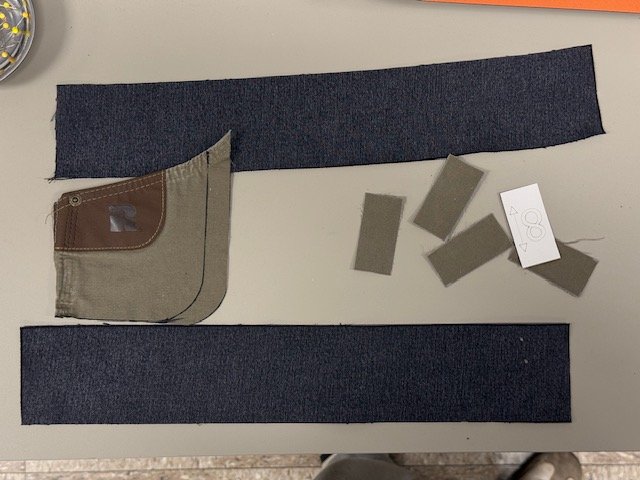
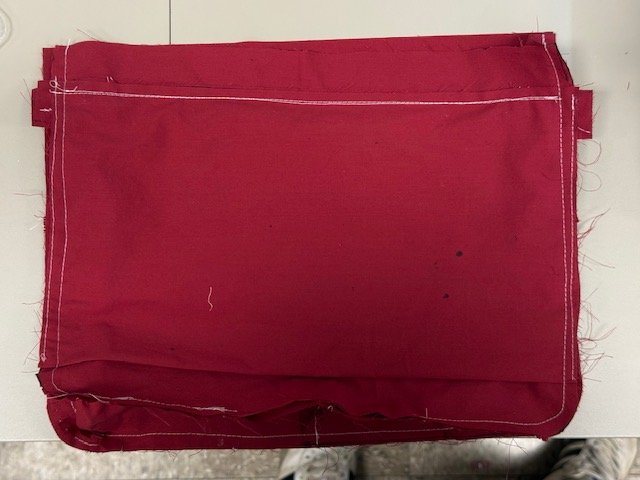
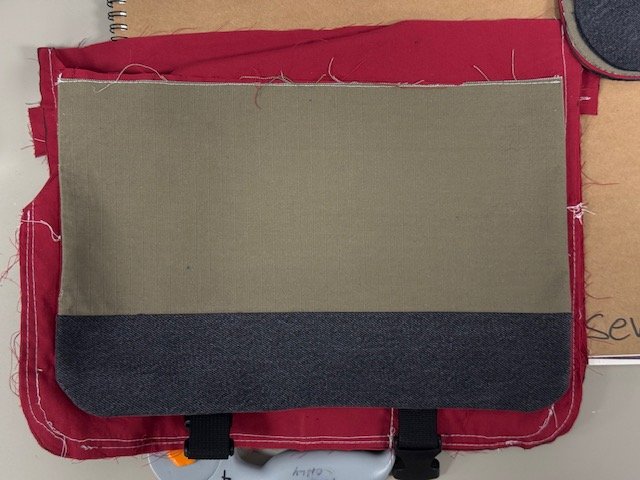
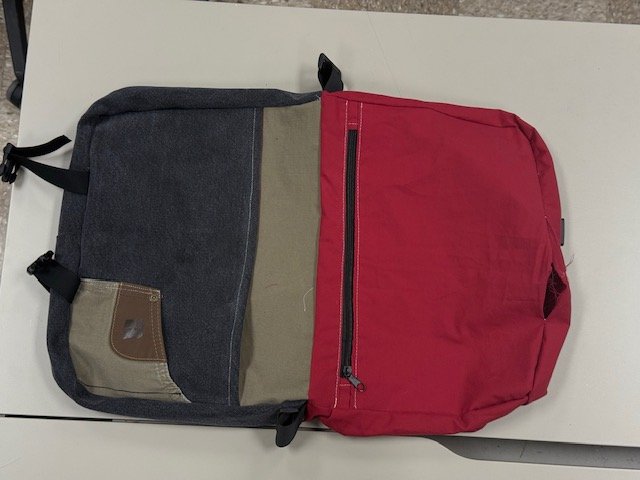
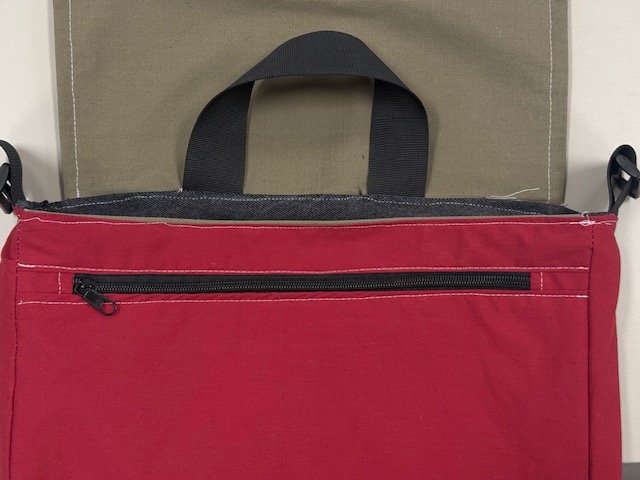
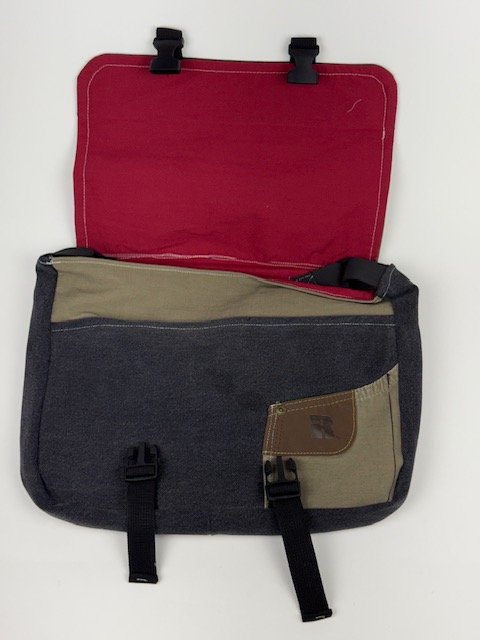
Most of the research was finding different patterns we would want to go with, but I ended up picking my own anyway. This is where we had to acquire our materials. Luckily, I was able to find an old pair of jeans I used to wear every day and thrifted another pair of pants to have a secondary color on the bag. For the interior, I found a red bedsheet I was able to thrift from a local store. We also had to cut our own material, making sure to make use of it as much as possible. This taught us to plan our cuts instead of just cutting them at random.
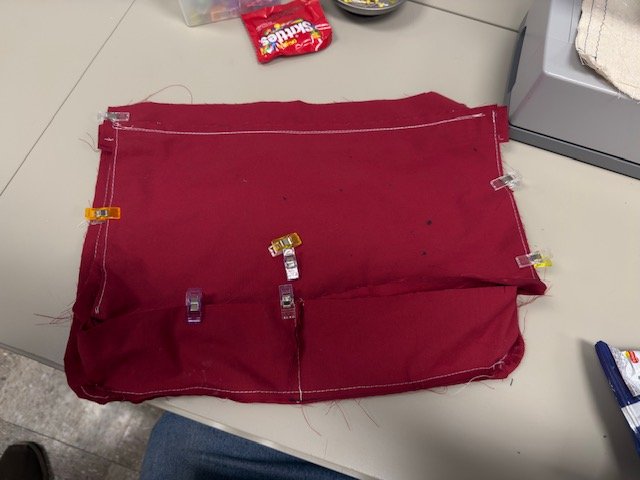
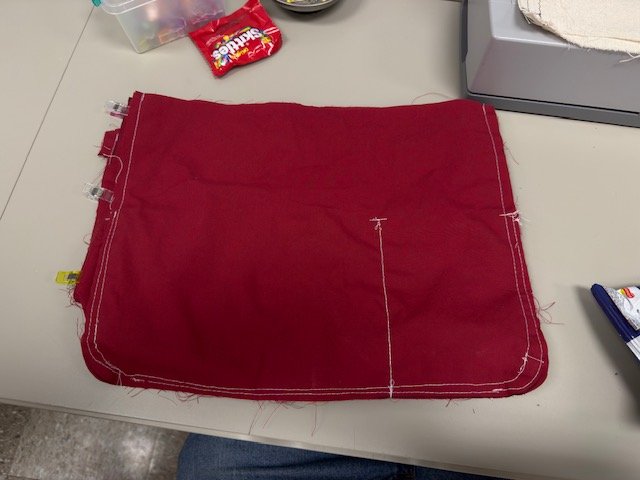
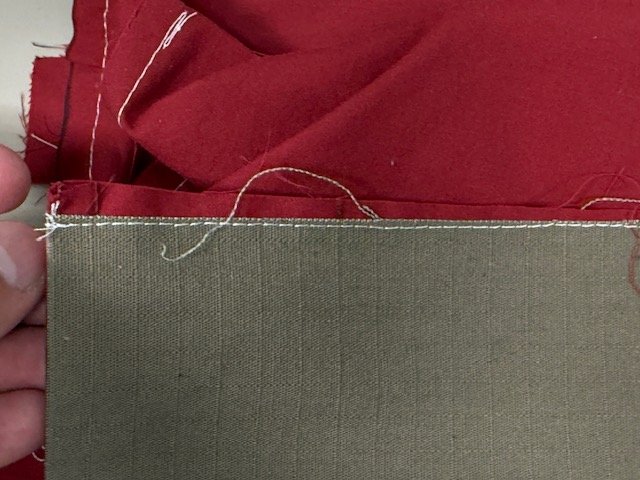
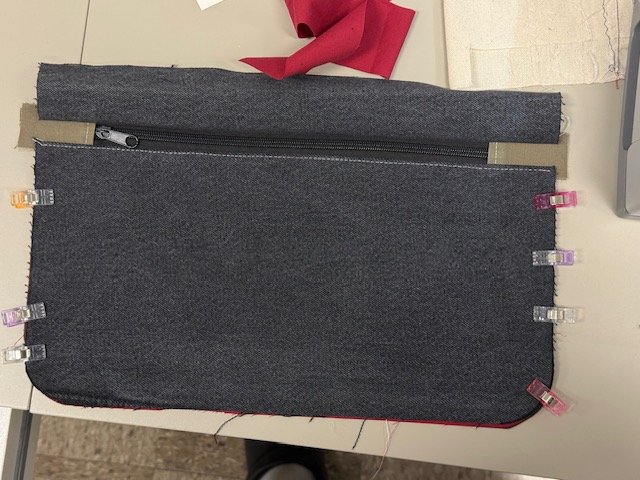
For my final, I wanted to pick durable, rigid material that would be able to sustain some wear and tear. This is why I wanted to go with some denim and work pants. I intended the bag to be used as a book bag for my brother, who just started law school, so I wanted to use more muted colors, but went with the red interior for a more u201cpremiumu201d feel. Once I had the material, I was able to start cutting the material and separating it into different sections. I worked on completing the interior lining first, as I could get more practice with the machine. This included making several pockets and sewing on a couple of zippers. Moving onto the exterior was a little more complicated, since I had to create the pattern, and bring all the layers together. Overall, the whole project was not too technically difficult but taught me a lot of important lessons about time management and bringing a project together.